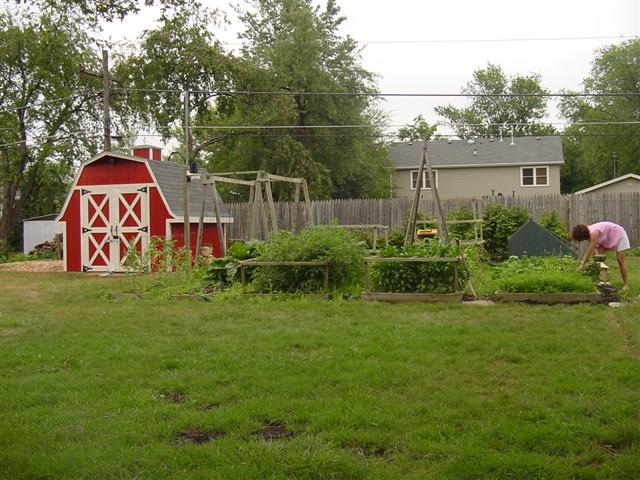
According to my wife, the project you are about to read about cost $1,000,000 dollars!

If that’s the case then let me show you what a million bucks gets you in the garden…
I started gardening several years ago when we bought our home. I had had a lot of success growing fruits and vegetables, but noticed that as we had kids, that watering of the garden was not done often enough. So I started looking into different ways to water it regularly. I knew that I didn’t want to install lots of water sprinklers everywhere like you would for your lawn, and had already invested in many hoses, sprinklers and drip type hoses over the years. Since then, the garden has grown to have separate areas for grapes and raspberries and if I get my way, eventually a strawberry tower too!
I chose to use standard underground sprinkler valves and use adapters that would allow me to hookup my existing hoses and sprinklers. The usual valve timer was replaced with a computer controlled unit that allowed me to write custom software to control the valves. Ultimately I was able to control the timing of how much water each part of my garden received. I made my own valve manifold using PVC pipe and hooked up 6 valves to control each “zone” of the garden.
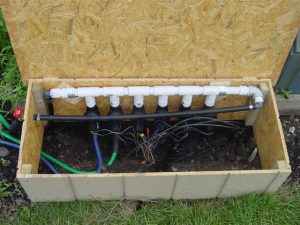
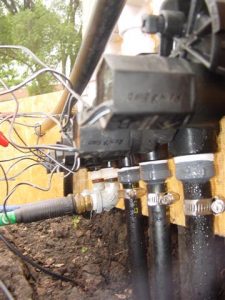
Below is a picture of the completed valve manifold inside the custom “pump house” I built. This stays in the garden year-around and requires the system be flushed with compressed air for winterizing.
I chose Rain Bird brand valves and sprinkler heads. The particular valves I used were 1 inch size, model JTV-100, and had a good reputation for reliability. I also installed two pop-up impact sprinkler heads to water the grass in the backyard. These do a great job watering the grass at distances up to 45 feet!
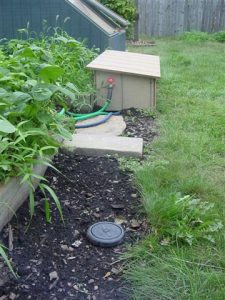
The picture below is a close-up of the water valves and the hook-ups to either the regular garden hose or the irrigation line.
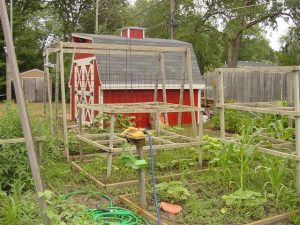
This picture below is of the main garden area and the associated sprinkler. The sprinkler (yellow colored) is bungee corded to an elevated platform to give it better coverage of the entire garden if needed. I adjusted the pattern to limit to the garden area itself which helps reduce the run-time required.
The picture below is of the narrow vertical growth trellis I constructed. In the rear you can see the large A-frame style trellis that I use to grow tomatoes, beans and squash. Two soaker hoses travel from the front to the rear, then swing over to the left side and travel up to the front (a tall U-shape pattern). I run both of these soakers on the same zone via Y-adapter.
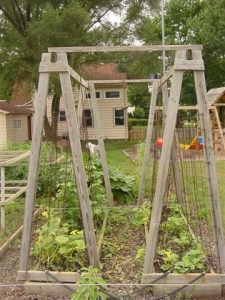
This is a reversed image of the vertical growth trellis pictured above.
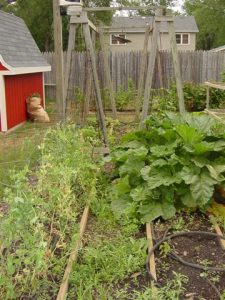
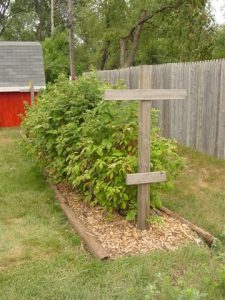
Below is a picture of my raspberry trellis and the associated soaker hose coupled to the 3/4 inch irrigation line. The soaker hose snakes in and out down the trellis line.
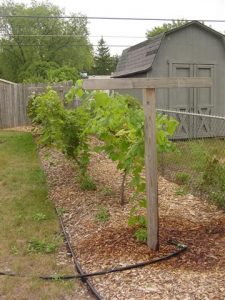
Below is a picture of my grapes trellis and the associated soaker hose coupled to the 3/4 inch irrigation line. Note that the trellis design I used is called a Geneva Double-Curtain. This trellis design allows for twice the plantings in the same space as other methods.
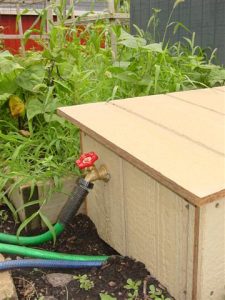
I also added a regular silcock to the side of the pump house to support other ad hoc watering needs. This, along with all the other watering zones I established, have eliminated the need to keep a garden hose stretched out from the house each season. Mowing the grass, keeping the kids from tripping, leaving undesirable dead grass lines in your lawn, and not interfering with the dogs frisbee catch all have been indirect benefits from this solution.
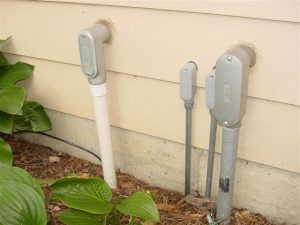
Working further backwards in the system, the main water supply and valve control cable were buried by hand (ugh) from the garden back toward the house. I ran the control cable through a conduit into the garage where the irrigation controller unit is located.
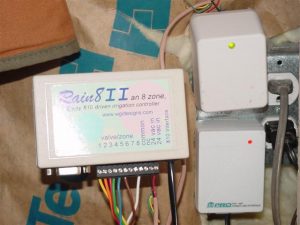
The irrigation controller is an X10 compatible device from a company called WGL & Associates. The particular device I have is the Rain8ii which supports bi-directional communication to ensure zone activity (on or off). I thought this would be important if one has a limited supply of water. The device is powered by a 24 Volt AC transformer which also supplies power to activate the valves. Communications to control this device are relayed via the power line interface which is an X10 protocol.
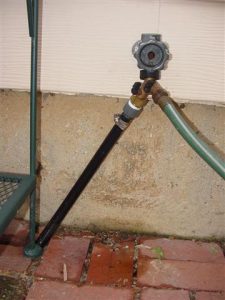
The 3/4 inch water continues past the garage and under the brick patio where it comes out of the ground and into my outside faucet. This decision was to quickly get a water source connected to the system and may be replaced in the future with a dedicated valve.
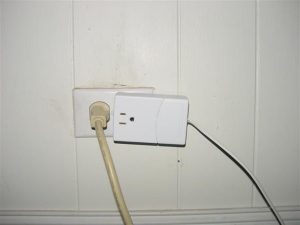
A powerline interface also exists in my office where a serial cable then goes to the computer to allow my custom software to control the whole system.
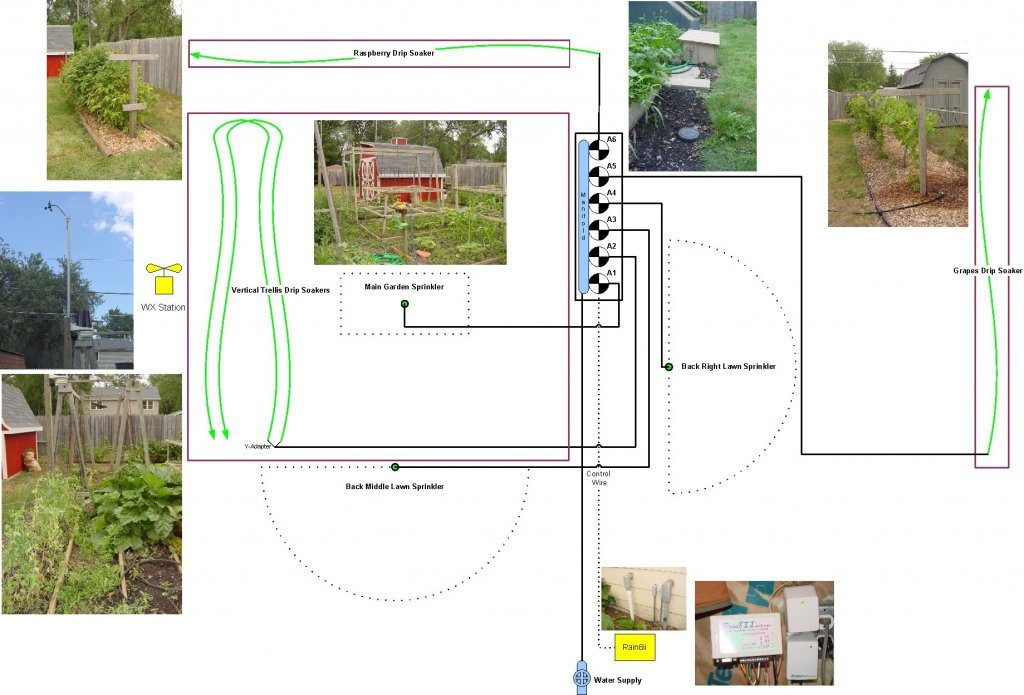
The entire hardware system (sprinklers, valves and controller) are summarized in the diagram below.
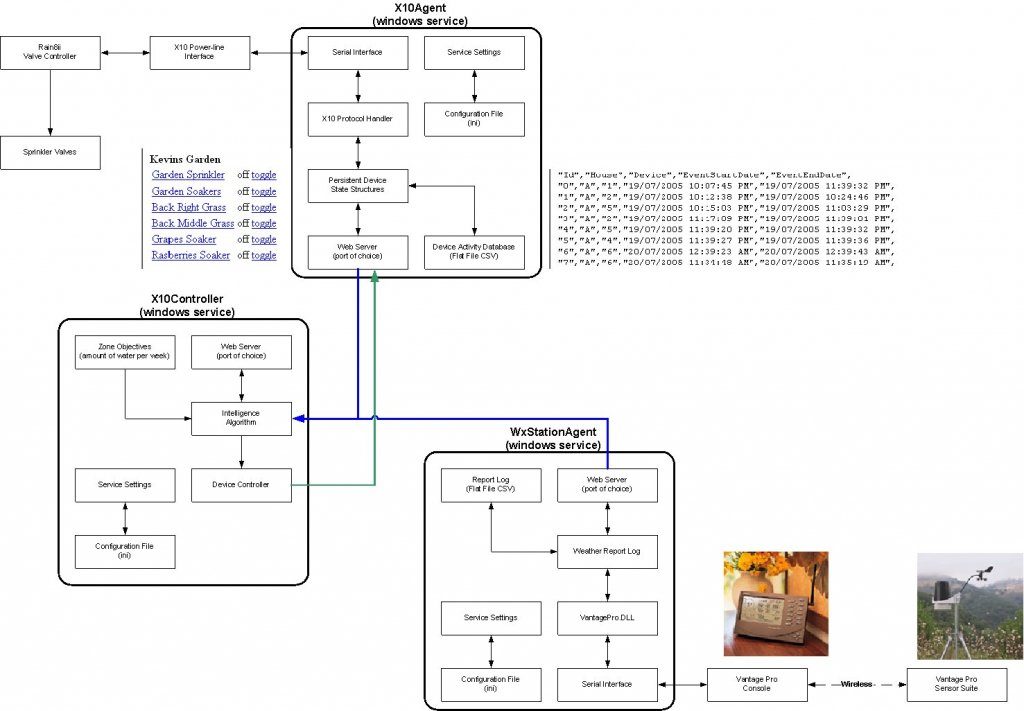
The software system is summarized in the diagram below.
