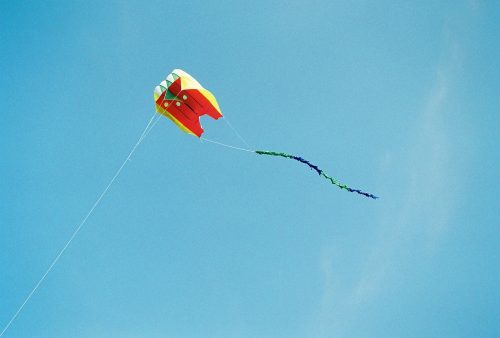
In preparation for my inaugural flight of KAP1, I needed to either buy or make a large tail for my Sutton kite. The type recommended is called a “Fuzzy Tail” for obvious reasons once you see it. The goal is to produce significant drag for the kite with minimal weight. I decided to make my own as it didn’t look to difficult.
First you have to acquire some Rip Stop nylon fabric. This is the same material that high quality kites and sails are made from. It’s very lightweight and due to its special weave, a tear or rip will only extend a few millimeters (hence Rip Stop).
I did a fair amount of searching around the web for material and hardware sources to do this. Hang’em-High was very helpful and economically priced.
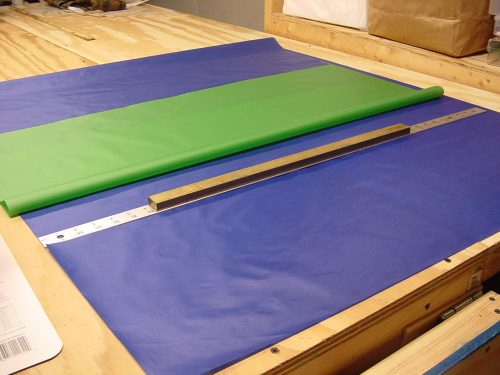
I chose to alternate two colors in my tail. I purchased a single yard of 3/4 oz. rip-stop of each color sot that I would have enough to make a 30 foot tail if desired. Note that alternating the colors will require a little extra sewing. The choice to have one longer tail versus two shorter tails seems to be a personal preference. I chose to design a single tail with extensions that could be clipped on to accommodate different wind conditions.
Once you’ve chosen a design, start by hot cutting the fabric to a width of 12 inches. I cut several lengths at this width from each color since I was alternating colors.
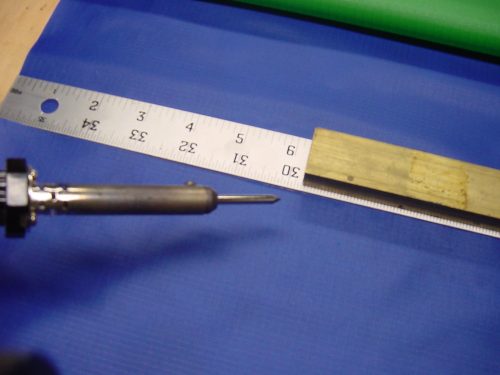
Hot cutting refers to essentially melting the nylon. Either a dedicated hot cutting tool can be purchased, or a nice clean sharp soldering iron between 20 and 35 watts can be used.
Use a metal straight edge to guide the soldering iron along in a smooth and somewhat slow motion. Try to only allow the tip of the iron to touch the fabric. Once the “cut” is completed along the entire length, you should be able to gently pull the fabric apart along your cut.
The next step is to sew each section together (assuming you are alternating colors). Sewing rip stop works best with a very sharp needle. Special needles are recommended for most sewing machines when sewing Rip Stop nylon (sharp type). A special thread must also be used to ensure a long lasting seam. Thread that is UV resistant and designed for kite or sail building is recommended. The last detail regarding sewing is the use of straight and zigzag stitches when sewing seams.
A french seam is preferred for this step. This seam provides a finished edge on both sides and is very strong. Straight stitch each section together and use proper back-stitching or lock stitches to start and finish the seam.
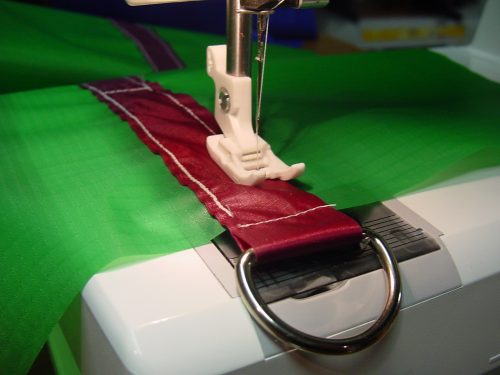
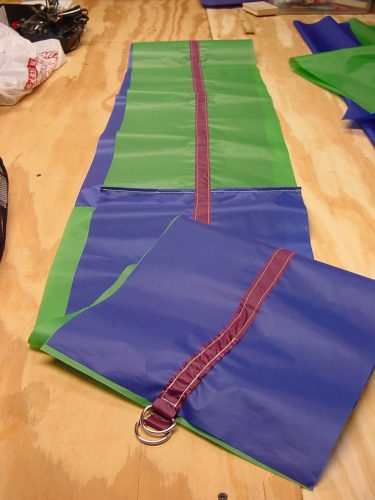
The next step involves sewing in a reinforcement strip of nylon along the entire length of the tail. This will ensure that none of the “fingers” rip completely across the tail. I used a third color (magenta) and started at one end and stitched a “Dee Ring” for easy attachment and extension of the tail.
Continue along the length of the tail and across all section-seams.
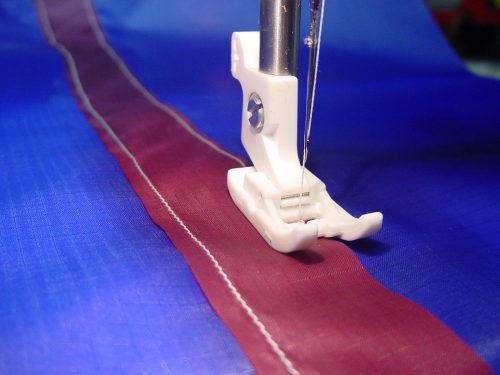

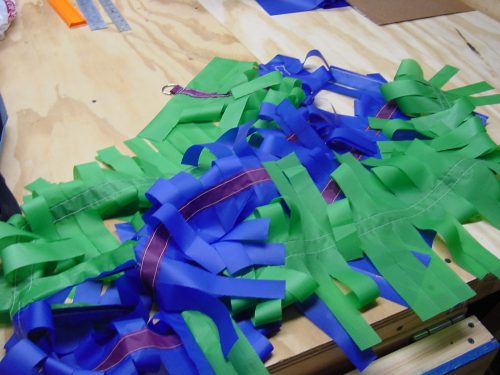
Once the sewing is completed, the tail looks like the picture below. You’re almost done!
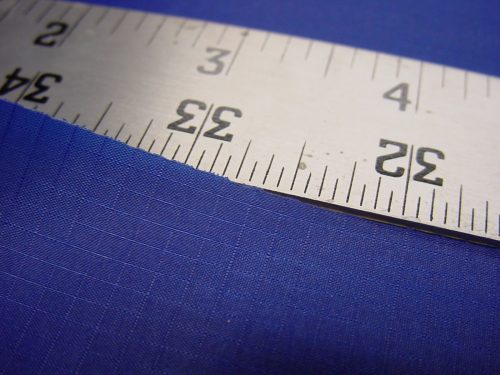
The next step involves a lot of hot cutting and can be very time consuming if you are using a soldering iron to cut. Small fingers need to be cut along both edges over the entire length of the tail. I recommend the use of a straight edge again. The width of the ruler was about 1.25 inches which should be a good size. When cutting, cut up to within a quarter of an inch from the center strip that was sewn in.
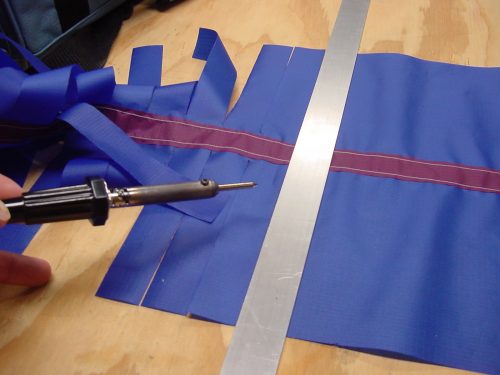
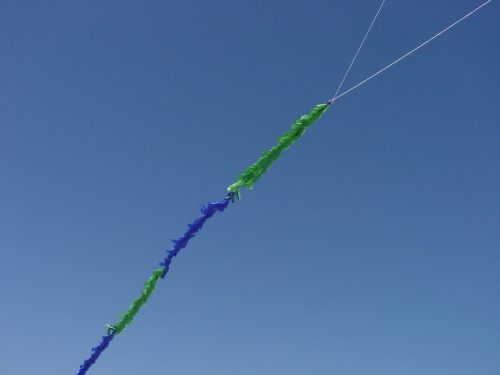
Pull the “fingers” apart after cutting to reveal your completed fuzzy tail! I liked the idea of being able to adapt the length at the field as needed so you may want to make an extra extension of about 6 or 8 feet.